Learn proven tips to quickly create images for blog or website. Images play a vital role in the world of digital marketing and content with quality images fly high.
Most of you have heard and noticed that post with visual content are having more engagement compare with pure text content. Or if you own a Photoblog, use of the images is very important and critical.
Creating visual content and especially quality images for your blog can be a challenging task. Just because compiling and creating quality images for your blog or website will take too much time. But you do not have to worry about this.
In this article, I am going to share proven tips to create high-quality images for blog or website.
Tips to Quickly Create Quality Images for your Blog or Website
Learn, how to Quickly Create Attractive and Quality Images For Blog Posts
#1. Place the Source of Images Together for Quick Access
There are so many sites, apps and posts those contain a list of resources from where you can find quality images for free to use.
If you locate the source that includes maximum images and if you think those quality images are useful then bookmark those resources. And make sure that you put those bookmarked source in one folder of the web browser.

You can also use Google Bookmarks and access from anywhere and from any devices. This is how you can easily and quickly access sources and those images to create an attractive and quality images for your blog post.
#2. Build Template to Create Images for Blog or Website
When it is a question of using a quality image, at that time it is very important that you stick with a standard image size that you are going to use in your blog posts.
But sometimes it is tough to find relevant images in your standard size.
To overcome this, build a template with standardized image size. Make sure that template match with your blog theme as well. In a standardized image template, you can add images with different.
The problem of creating a standardized image with getting resolved in the main cases with the template. You can resize the image you loved and create images for your blog or website.
Pro Tip: Add blog title in the image, which will increase the CTR from the images searches.
#3. Use Editors to Create Images Online
To create your custom images for your blog post, there are some online tools available for you. You can use these tools or can say editor to crop, resize and adding fonts to the images.
Those tools like Pickmonkey, Pixlr Editor and more. These tools work well, and also they offer a bit of extra editing required features.
There is another tool, named Canva, is one of the popular tools and provides a lot of preset text formats which you can use to create an image.
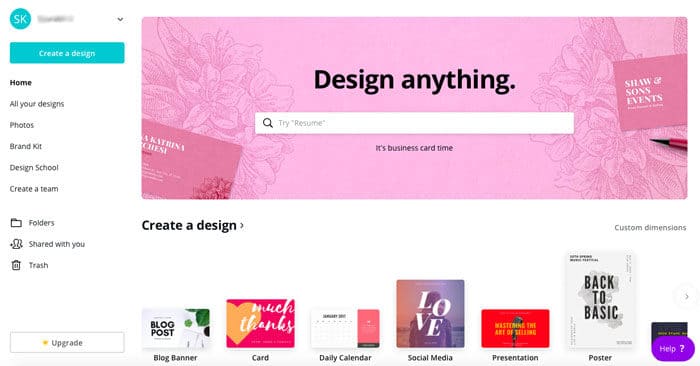
Few times it happens that it takes longer time and more brainstorming to choose the format of the image and text to use in it. But still, you can make the process faster be using Canva tool, for that download few images from the bookmarked source and upload them into the Canva and start editing those images.
#4. Create Images Using Screenshots for a Blog Posts Faster
Screenshot images work best for them who have writing tutorials or how-to’s kind of a blog. Capturing screenshots and edit them are a little bit time-consuming. But there are some tools which can help you to get over it use PicPick.
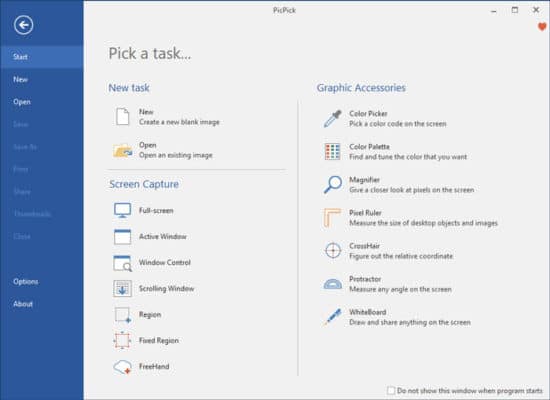
The best thing about this tool is that by using this, you can capture the entire screen, the whole scrolling area of a web page or just a part of the screen.
Also, it has inbuilt image editor which opens screenshot automatically and with the editor, you can quickly edit any image.
There are also other tools available, you can try like Greenshot, and Evernote’s Skitch. These tools also offer everything that you require to do with a screenshot.
#5. Use Mockup App to Edit Screenshot
Sometimes screenshot might not go well with the post because it contains too much text or too much white space.
We already know about Snagit but do you know that it also contains a feature that helps you to turn your screenshot into a more perspective image.
You can do it with the paid version of Snagit but if you do not want to go with the paid version, then there is another way with which you can make your image perspective at no cost called Magic Mockups.
With the help online mockup file or with online mockup creator website, you can create quality images for your blog post.
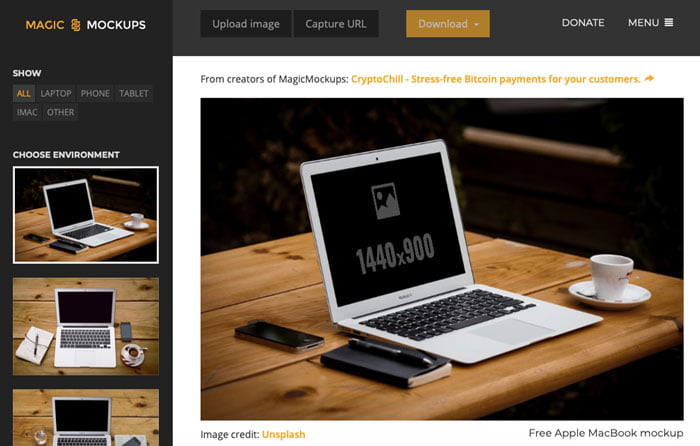
Magic Mockups is an online platform, where you can turn on a simple screenshot to an attractive image. You just need to select the design, upload your screenshot and rest all will be done by the smart system of Magic Mockups.
Pro Tip: If you have a good grip on Photoshop then there are various Free Mockup PSDs are available to create quality images for your blog posts.
#6. Use Quotes to Create Image Faster
With the use of quotes, you can easily and quickly create quality images for your website, which also look meaningful to your blog posts.
For that, all you need to do is to find a relevant quote from your post and create an image of that quote with the help of using image editor which we mentioned before.
There is also a site, named QuotesCover.com, with which you can write the cover. And there is a range of predefined dimensions available for Social Media Posts, Twitter or Facebook Cover, Wallpaper for Mobile or PC, etc. Select any one of the dimensions which suit you.
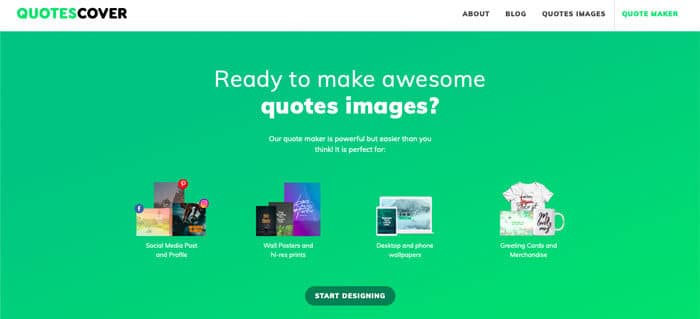
This is similar to the Canva tool and has more options to create an attractive and quality image for your blog post.
But with this site creating a quality image for your blog or website can be a bit of time-consuming because there are too many options which can confuse you.
So these are the tips with which you can create images for your blog or website in a short period. Which tool do you recommend, do let us know in the comment section below?
Stay tuned for more of such updates on Facebook and Twitter.
More to read –
